 |
 | | 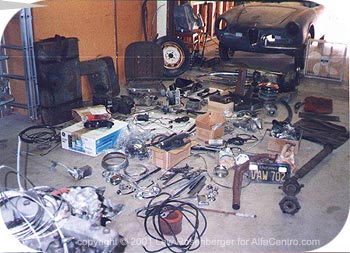 | | How many parts are in a Giulietta? And more importantly, how many are missing or unusable? Opening all of the parts boxes was like anticipation at Christmas, but with the reality of getting only a lump of coal as a gift. What appears here to be a random pile of junk parts is the starting point for my project. Most major components seemed to be there, but there was not a single piece that wouldn't require extensive cleaning, repairing (or replacing) and coating. Parts were sorted and identified as far as possible, and stored in some semblance of order for refurbishing. The underside was completely stripped of gunk and asphalt - by hand, on my back, a 2 month project! The suspension was left in place to facilitate moving the car, and the empty chassis tub was finally ready for body work and paint.
| | |  | |  | |
|
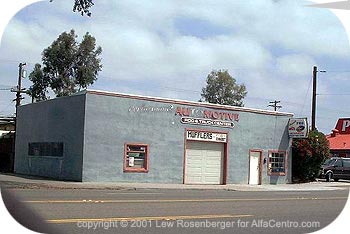 | |  | | | The next big surprise - none of the local body shops would touch my car! They were all willing to slather on some Bondo and spray on some "close matched" paint, but when I mentioned things like leaded seams and putty coats they quickly lost interest. In desperation I stopped in at Street Pro, one of the hot rod restoration shops in town. This turned out to be the perfect decision. Inside this unassuming building was Fred, one of the shop's owners. Fred made numerous trips with me to check out media blasting facilities, helped me decide on types of coatings, traced the AR716 paint code, and basically made me feel good about the princely sum of money I was going to have to part with to get a first-class job. The chassis was completely cleaned by media blasting and the work got under way. All of the pull-holes from past repairs were welded, the dents were removed by metal shrinking, dents and seams were leaded, the surface was contoured to match the body-mounted trim pieces - in all a very professional job. No Bondo in sight, and no rush to finish. The entire process was about 4 months, but it was worth the wait.
| | | | | | | | | |
|
| | 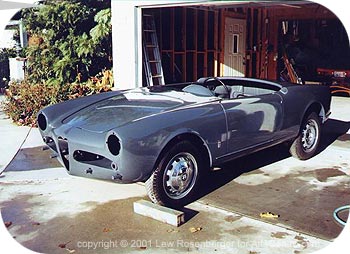 | | The original factory color was Graphite Gray, and after much deliberation we decided to return the car to "factory appearance". Don't misunderstand, red is a great color for an Alfa, but I think the "Rat" Gray / Chinese Red combination looks wonderfully different on an old spider. The first coat was a reaction primer (applied immediately after blasting) followed by multiple coats of epoxy "putty" primer - with many hours of hand sanding and blocking. My first choice for coating was lacquer, but that's not an option with California's smog police - and Fred convinced me that a lacquer coat was not serviceable as a finish for road use. We selected a color coat / clear coat finish for the exterior, as this is most fade resistant (important for Gray) and easiest to repair. The results, shown here, were exactly what I wanted.
| | | | | | |
|
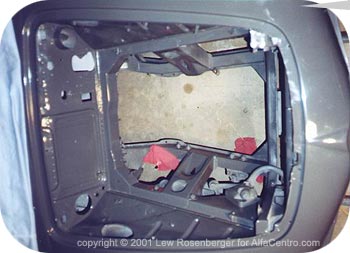 | | | | | For the engine compartment, trunk and cockpit we selected an enamel top coat over the same primer system as used on the exterior. The theory here is that enamel is more durable for these high-use areas - and besides, it is significantly less costly.
| | | | | |
|
| | 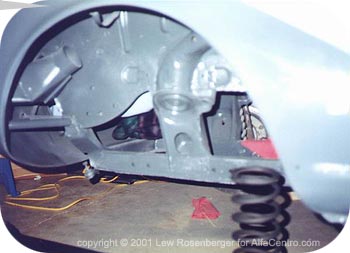 | | For the under-body and fender wells we wanted something that had some chip resistance and sound deadening qualities, but was true to the original color scheme of having everything in body color. The reaction primer was covered first with a thick coat of paintable epoxy undercoating, which was then coated with the Gray enamel.
| | | | | | |
